


Three Simple Steps to Install Your Rain Chain

Step 1: Connect at the Top
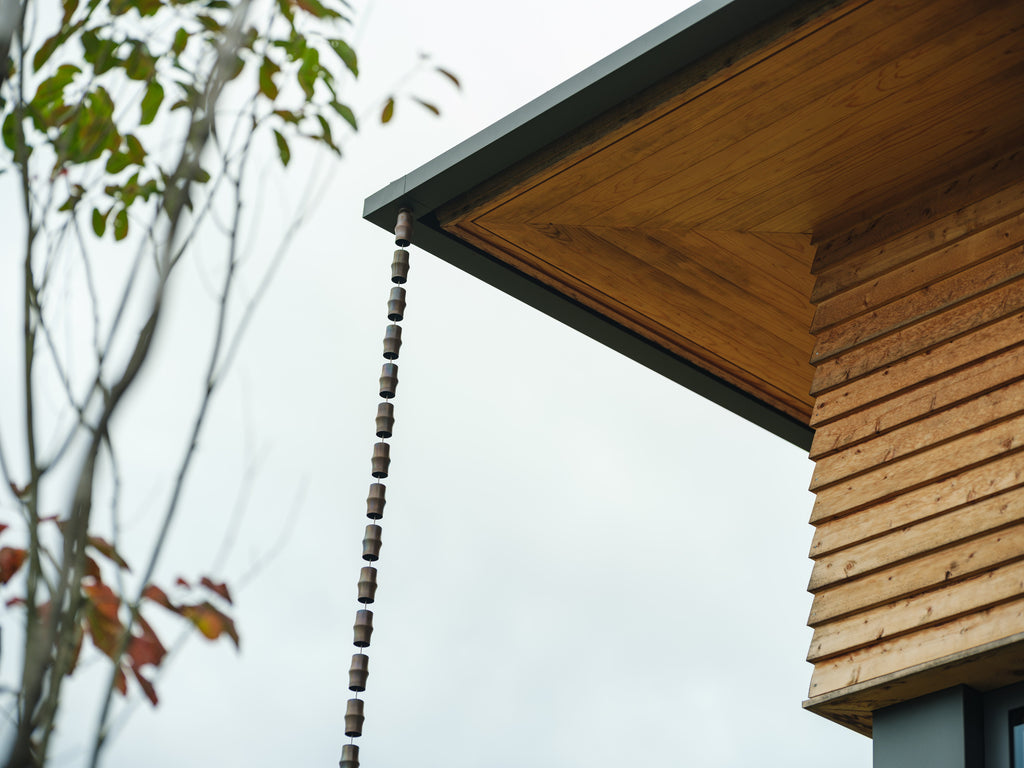
The Gutter Outlet included with your rain chain connects directly to the eave trough above.
Please note: The included Gutter Outlet fits K-Style Gutters only. For Half-Round Gutters, the steps are different — see "Type-Specific Installation Methods" below.

Step 2: Adjust the Length
Once the chain is hung, check how close the bottom end sits to the ground. If it touches, trim the excess with a Bolt Cutter.
A helpful tip: Extending a rain chain after cutting requires special work. Before you order, measure from your eave trough
down to the ground — then add a little extra length to give yourself room to trim on-site.

Step 3: Anchor the Bottom
Without anchoring, a rain chain will sway in strong wind and may strike the building. Always secure the bottom end before use.
How to anchor your rain chain:
- Anchor Kit: Drive an anchor into the ground and connect it to the bottom of the chain with the included wire.
- Basin: A Basin keeps the chain stable and helps guide water smoothly to the base — for a calm, finished look.
Installation varies by Basin type. See the links below for details.
How to Attach a Basin: Toh, Toh L, Tama, Tama L, and Ta-ke
How to Attach a Basin: Hamon, Migumo, Migumo L, and Ajiro
A Note on Installation
You can install a rain chain on your own. For a safer, more secure result, consider hiring a qualified professional. Either way, we are here to help — feel free to reach out with any questions.
For easy-to-understand installation instructions for DIYers, please see our guide on [How to Install a Rain Chain]
Step-by-Step Guides by Rain Chain Type
Exact steps vary by rain chain series. Choose your product below to see the full guide.


